CMS Integration

OpenCart 3.x (Original)

Integration instruction for OpenCart


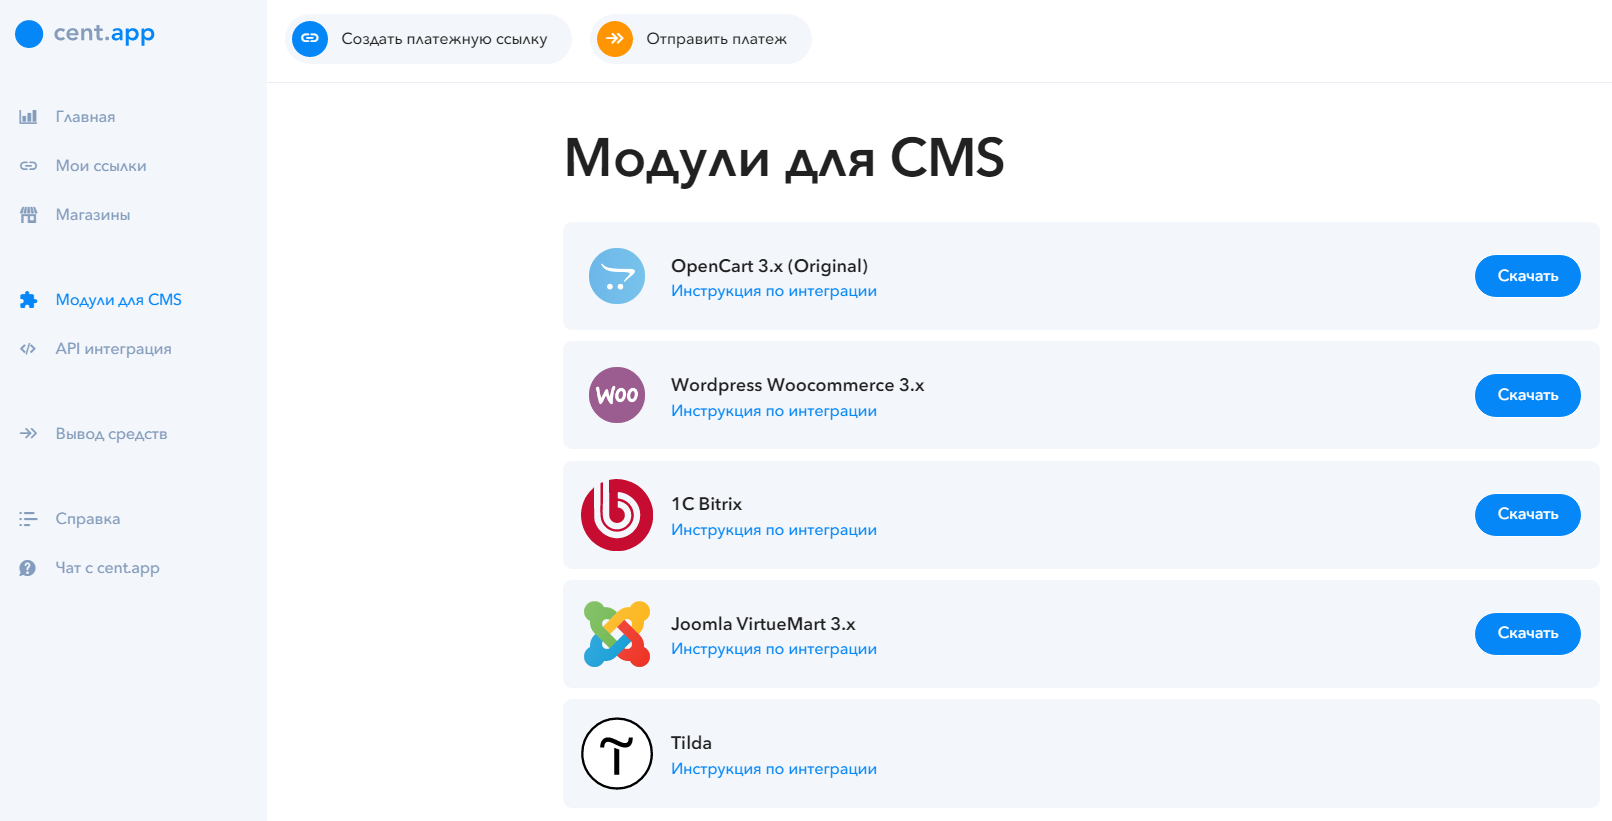
1. Download archive with the module from the page https://cent.app/merchant/modules


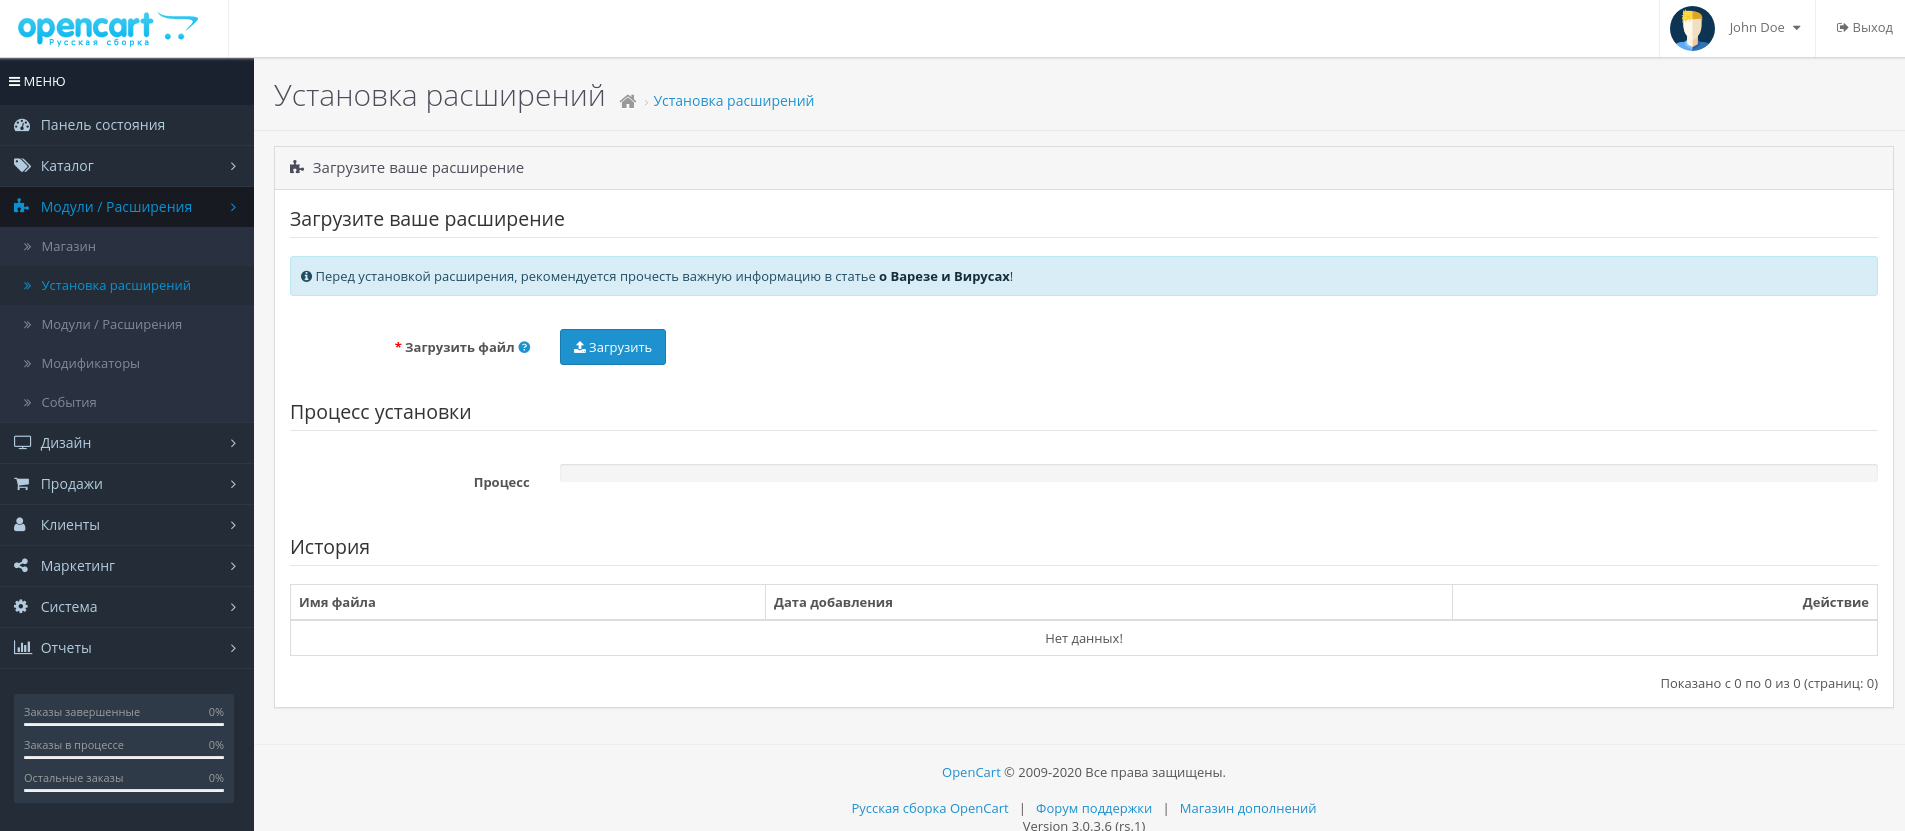
2. Open Extensions Installer in control panel of your site


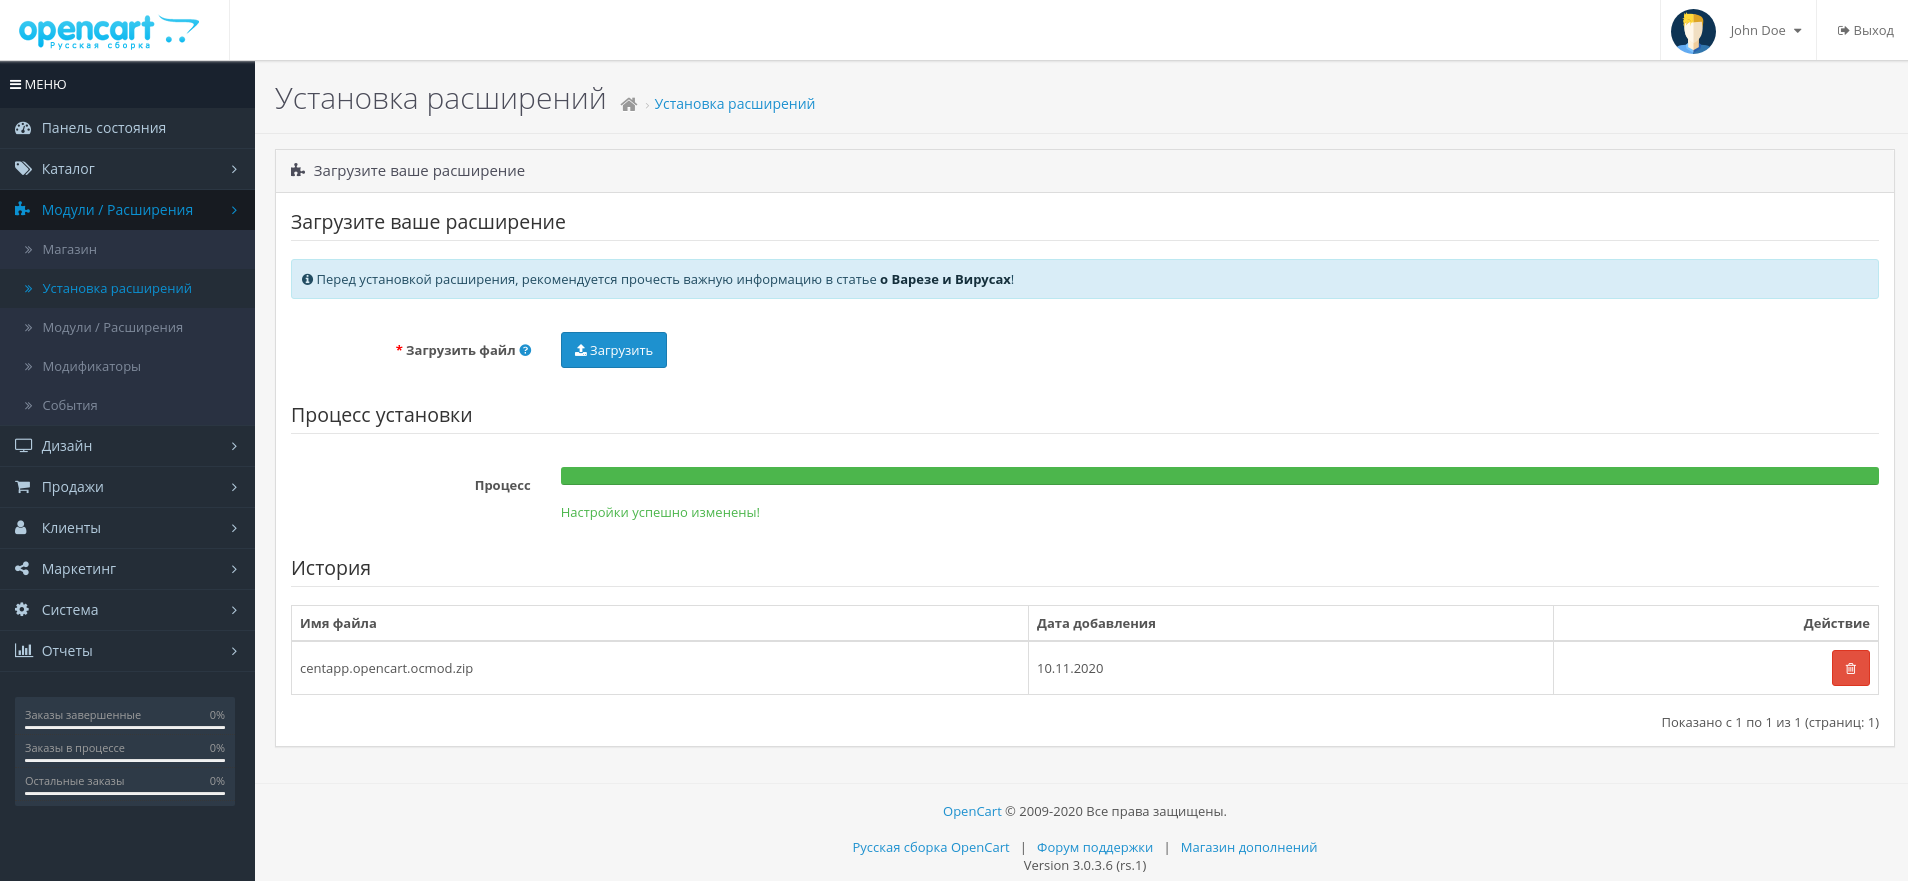
3. Select downloaded zip archive as setup file and install cent.app.


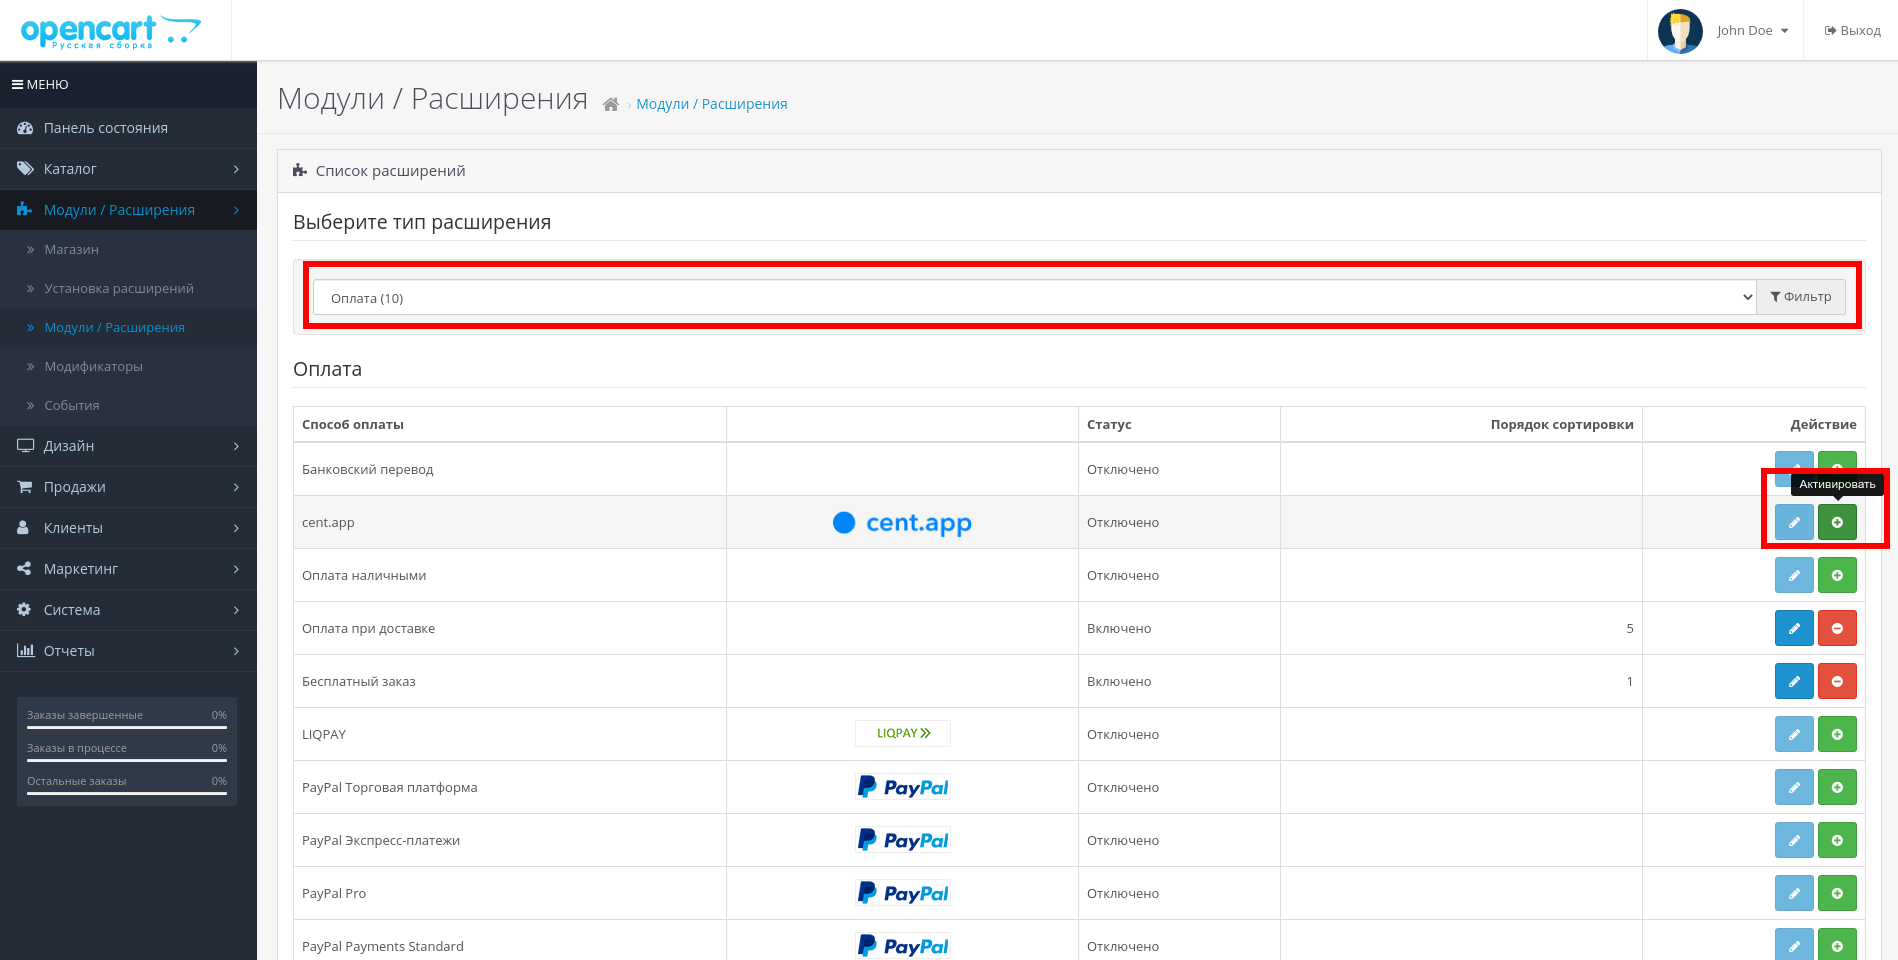
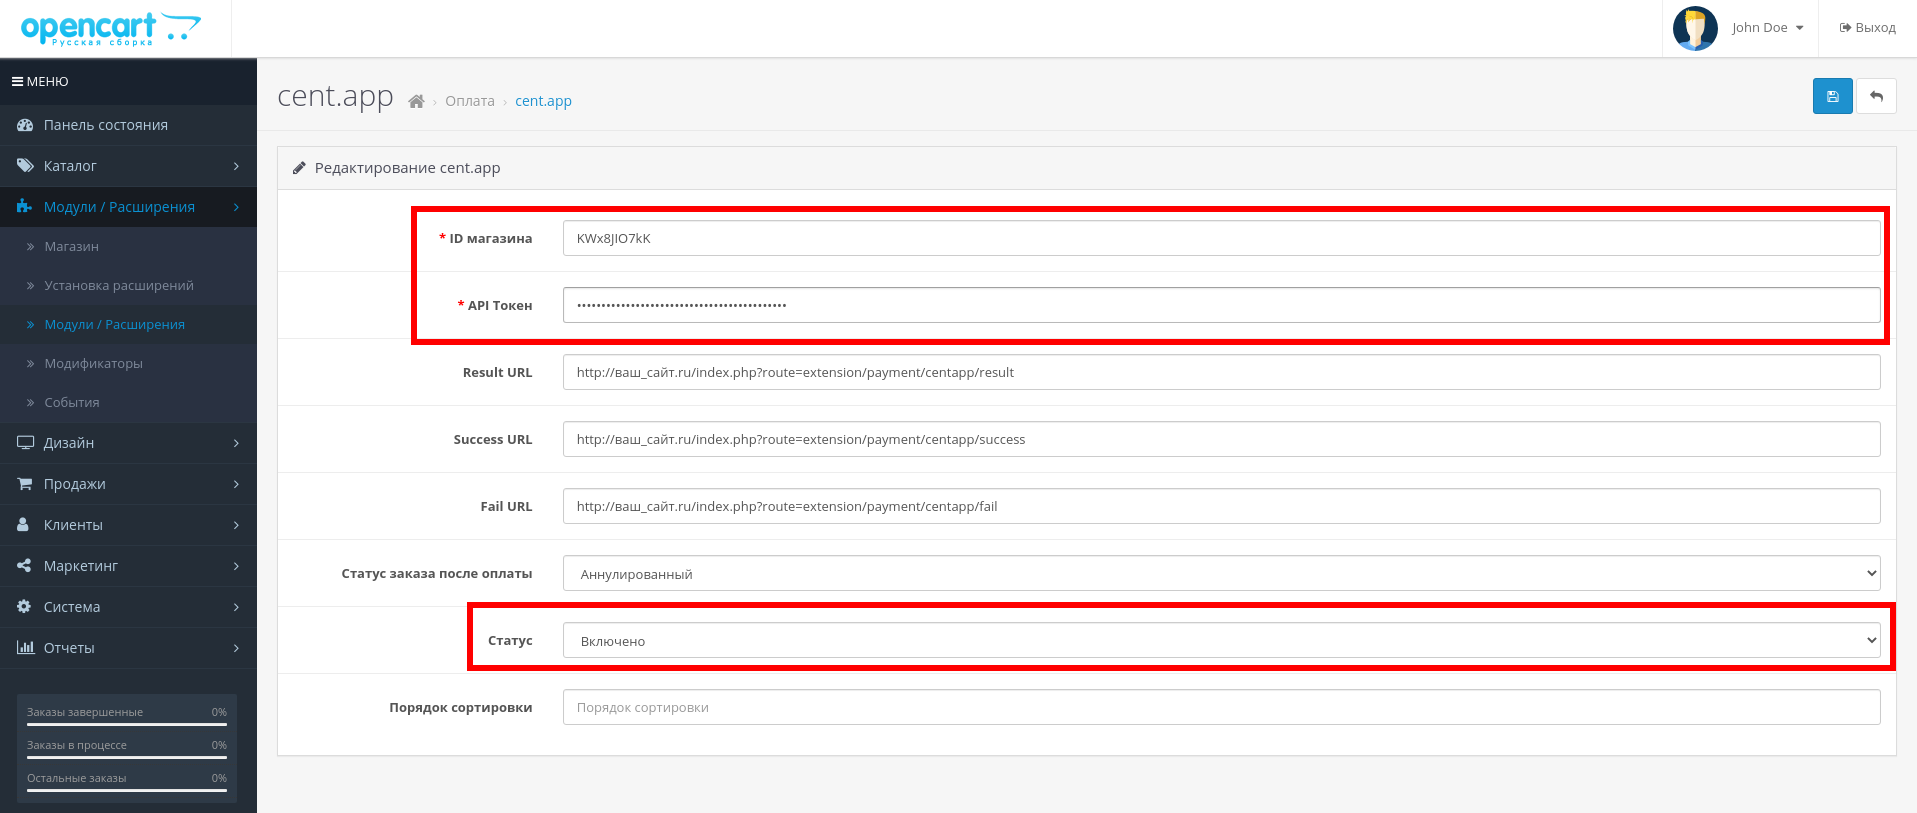
4. Activate cent.app extention on the page Extensions Extensions and set type of extention as "Payments". After activation please press "Edit" button.


5. Enter API Token (you can find it on the page https://cent.app/merchant/api) and Shop ID (your can find it on Shops page inside cent.app control panel) and chage "Status" to "Enabled".


6. To edit your shop details, please, contact our support team in the chat.

    Result URL: https://your_site.com/index.php?route=extension/payment/centapp/result
    Success URL: https://your_site.com/index.php?route=extension/payment/centapp/success
    Fail URL: https://your_site.com/index.php?route=extension/payment/centapp/fail


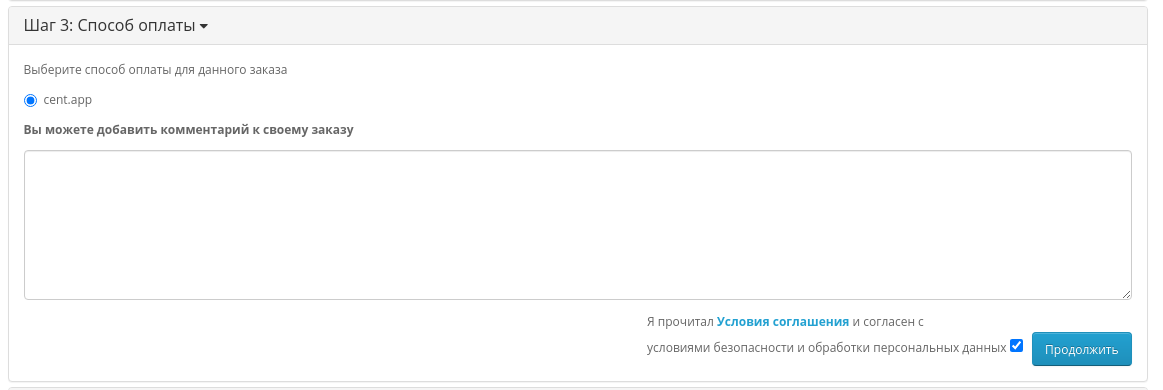
7. Now you able to choose cent.app on checkout page

Wordpress Woocommerce 3.x

Integration instruction for WordPress+WooCommerce


1. Download WordPress module from https://cent.app/merchant/modules


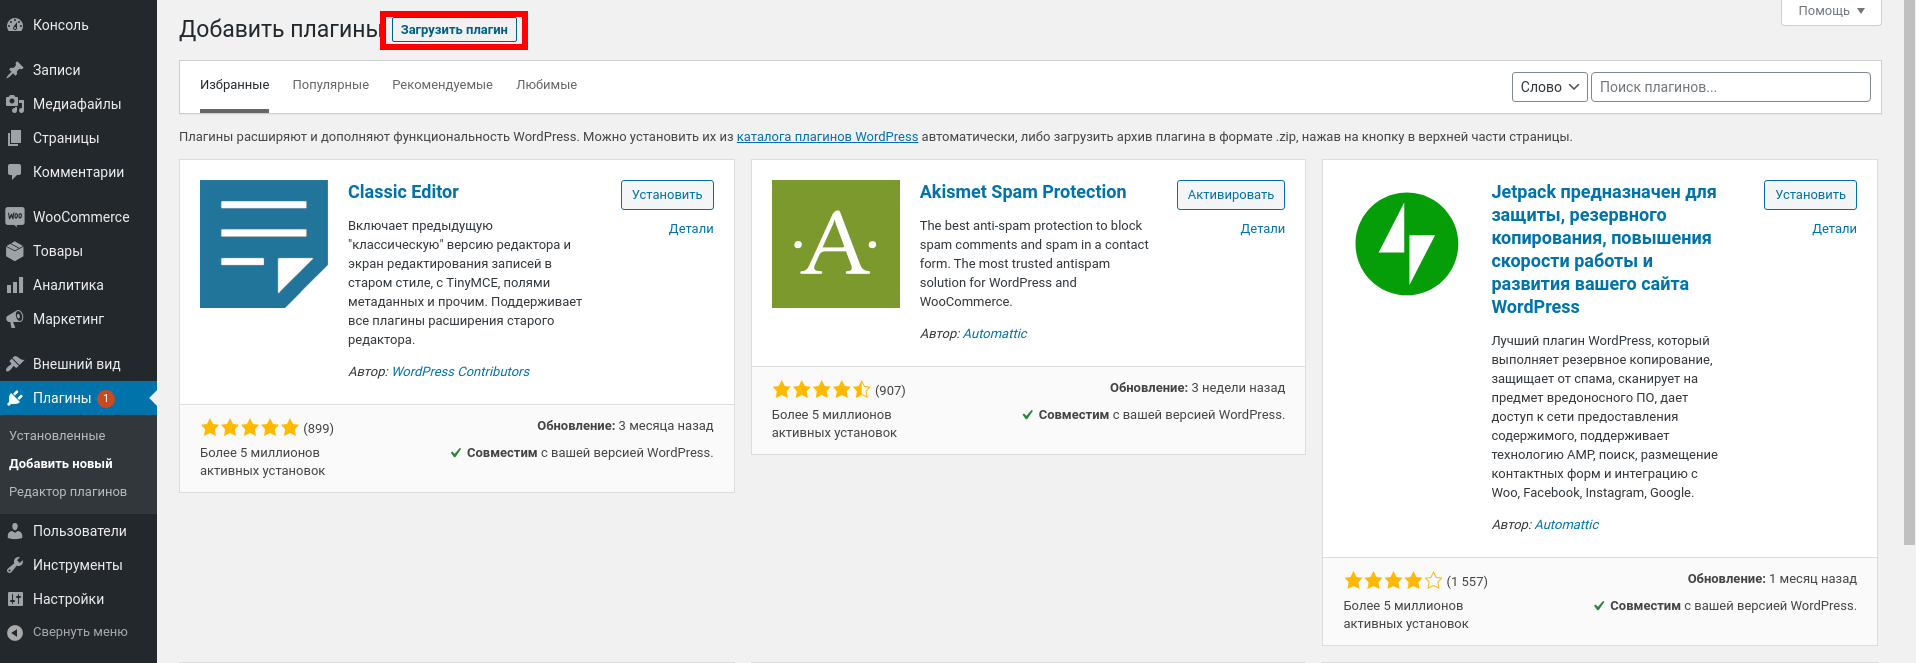
2. Open up “Plugins” → "Add new" in control panel of your site and press “Upload plugin”


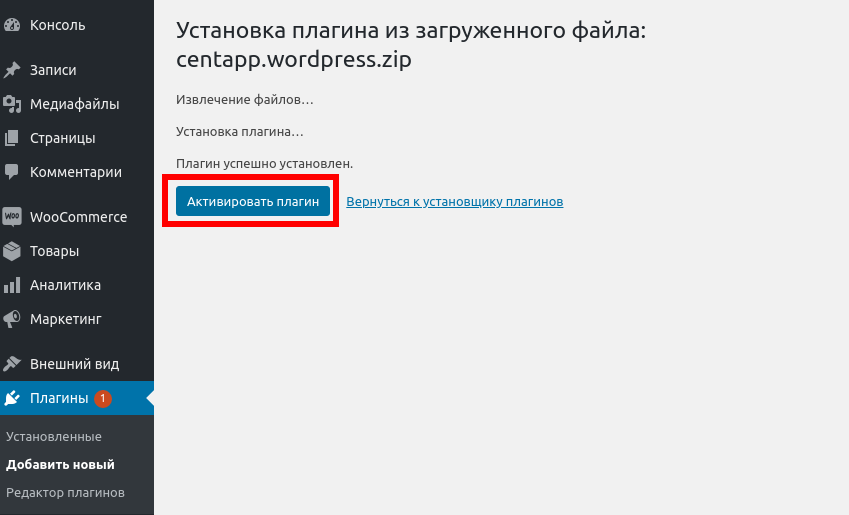
3. Select the zip archive as a setup file, install cent.app plugin and activate it


4. Then you should go to "WooCommerce" → "Cent.app settings" and enter API Token (you can find it on the page https://cent.app/merchant/api), and Shop ID (you can find it on the page https://cent.app/merchant/shop)


5. Copy and paste URLs from setting page into your shop settings


6. Now you can select cent.app as a payment method during checkout process.

1C Bitrix

Integration instruction for 1C Bitrix


1. Download 1C Bitrix module from the page https://cent.app/merchant/modules


2. Unzip the downloaded archive to the folder  bitrix/modules of your site.

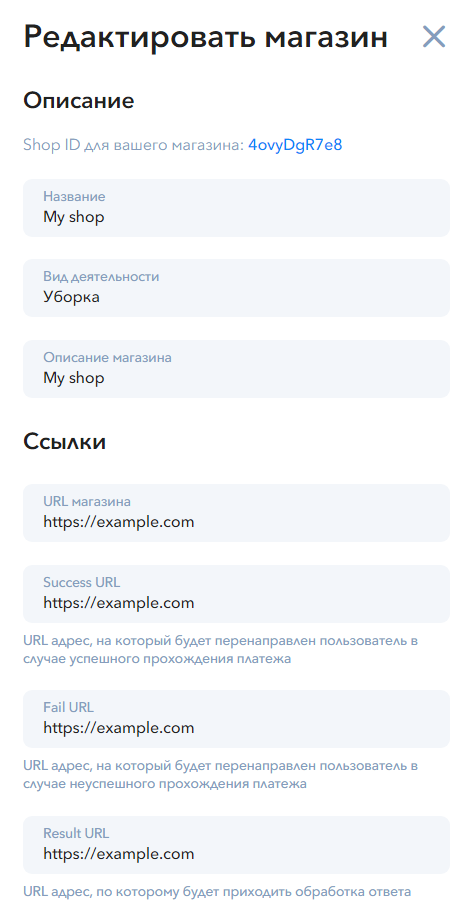
3. To edit your shop details, please, contact our support team in the chat.


    Result Url: https://your_site.com/bitrix/tools/sale_ps_result.php

    Success Url: https://your_site.com/bitrix/tools/sale_ps_success.php

    Fail Url: https://your_site.com/bitrix/tools/sale_ps_fail.php


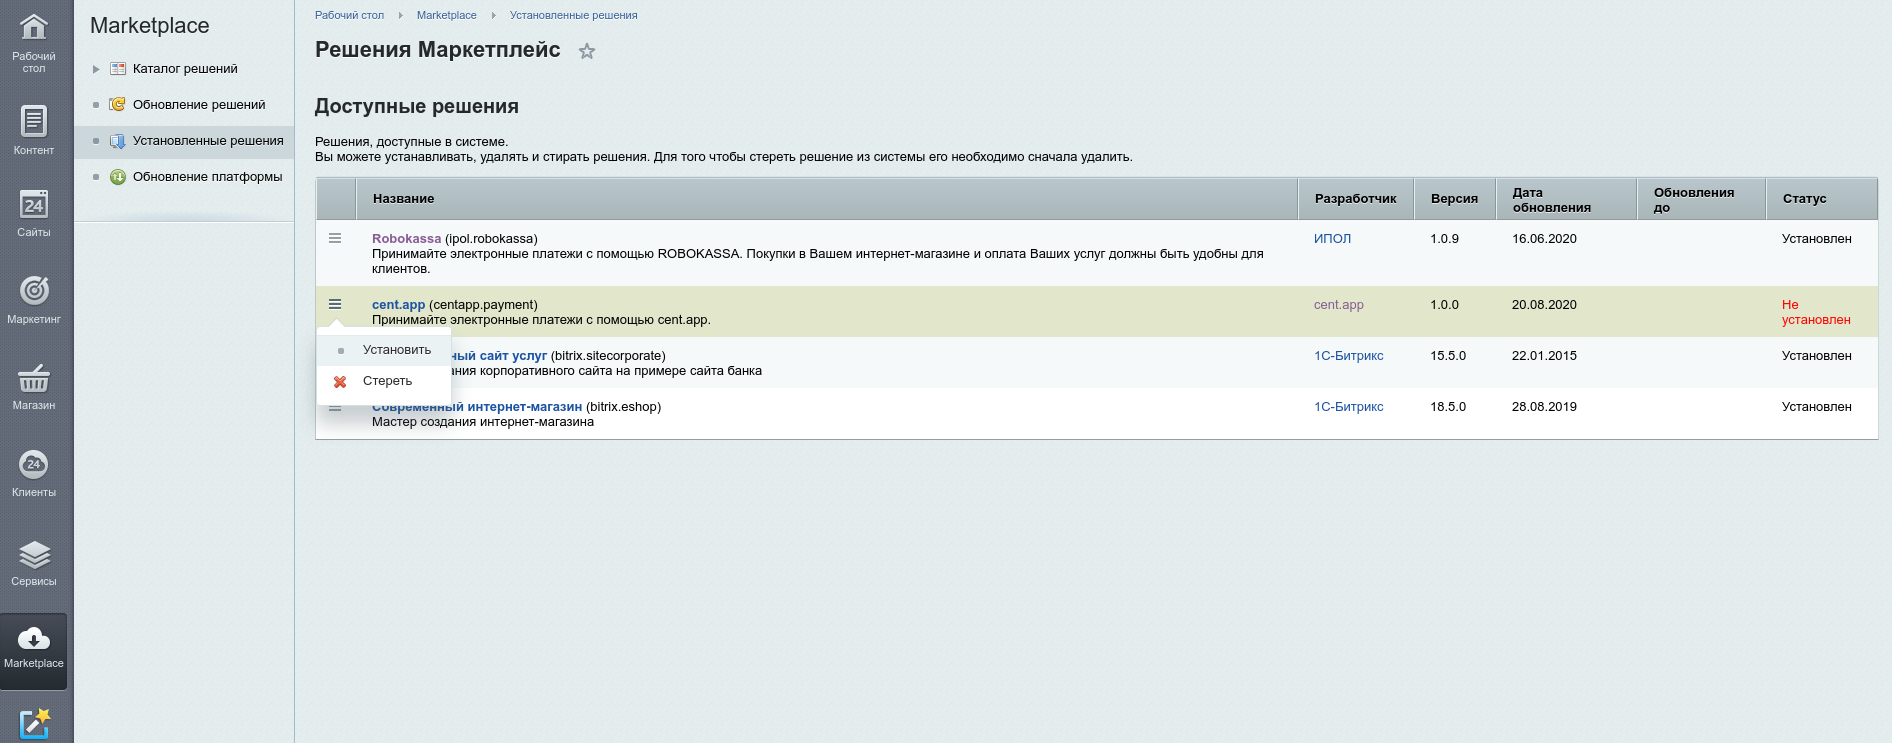
4. Now you need to go to Marketplace page → Installed solutions in the control panel of your site and press  Install cent.app.


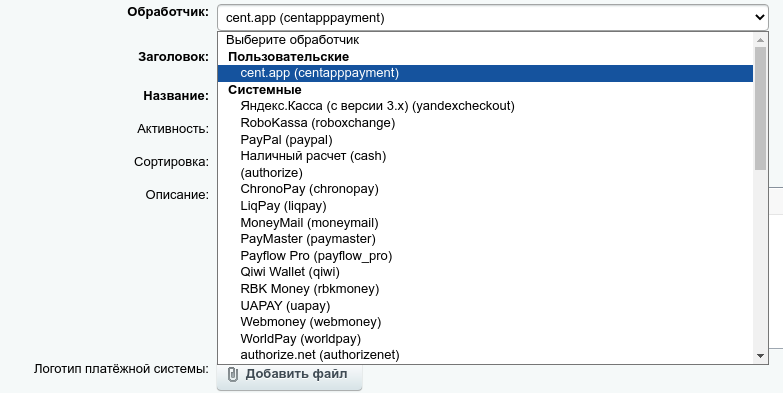
5. Go to "Магазин" → "Настройки" → "Платежные системы" and press "Добавить платежную систему"


Choose "обработчик cent.app"


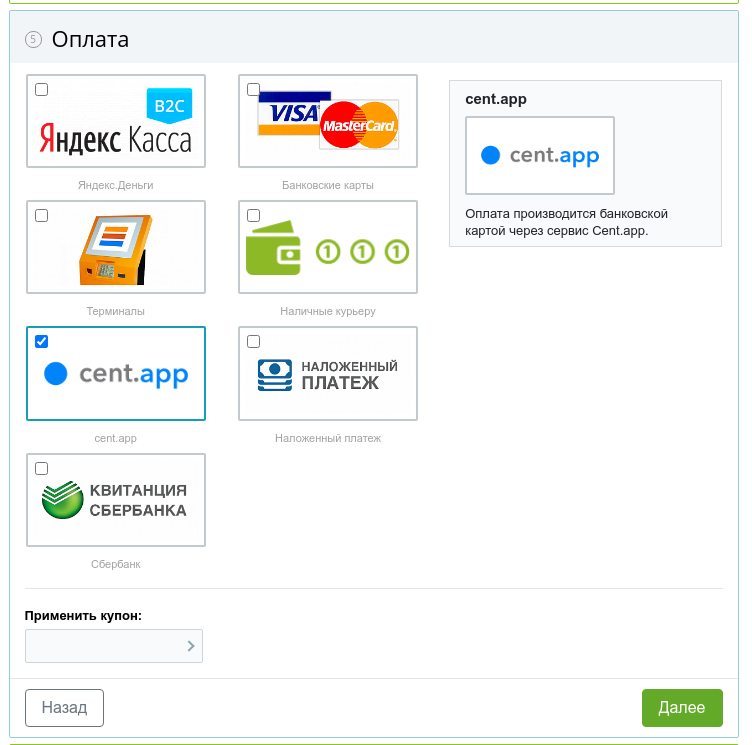
Enter a desctiption. You can use following line "Оплата производится банковской картой через сервис Cent.app."

Upload logo (You can save it from this page)


Then go to "Общие настройки" and enter API Token (you can find it on the page https://cent.app/merchant/profile) and Shop ID (you can find it on the page https://cent.app/merchant/shop)


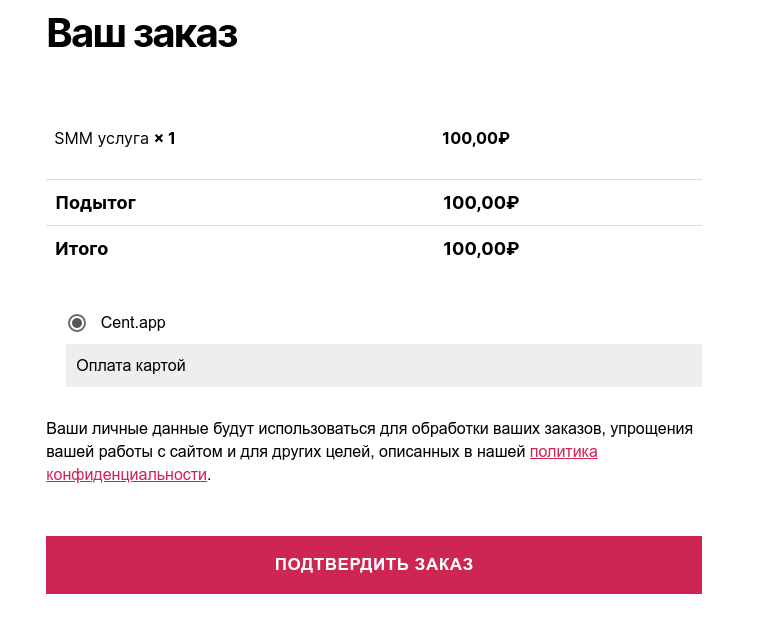
6. Now you can choose cent.app on checkout


Joomla VirtueMart 3.x

Integration instruction for Joomla VirtueMart 3.x


1. Download Joomla VirtueMart module from the page https://cent.app/merchant/modules

2. To edit your shop details, please, contact our support team in the chat.

    Result URL : https://your_site.com/index.php?option=com_virtuemart&view=pluginresponse&task=pluginnotification&tmpl=component
    Success URL : https://your_site.com/index.php?option=com_virtuemart&view=pluginresponse&task=pluginresponsereceived
    Fail Url : https://your_site.com/index.php?option=com_virtuemart&view=pluginresponse&task=pluginUserPaymentCancel


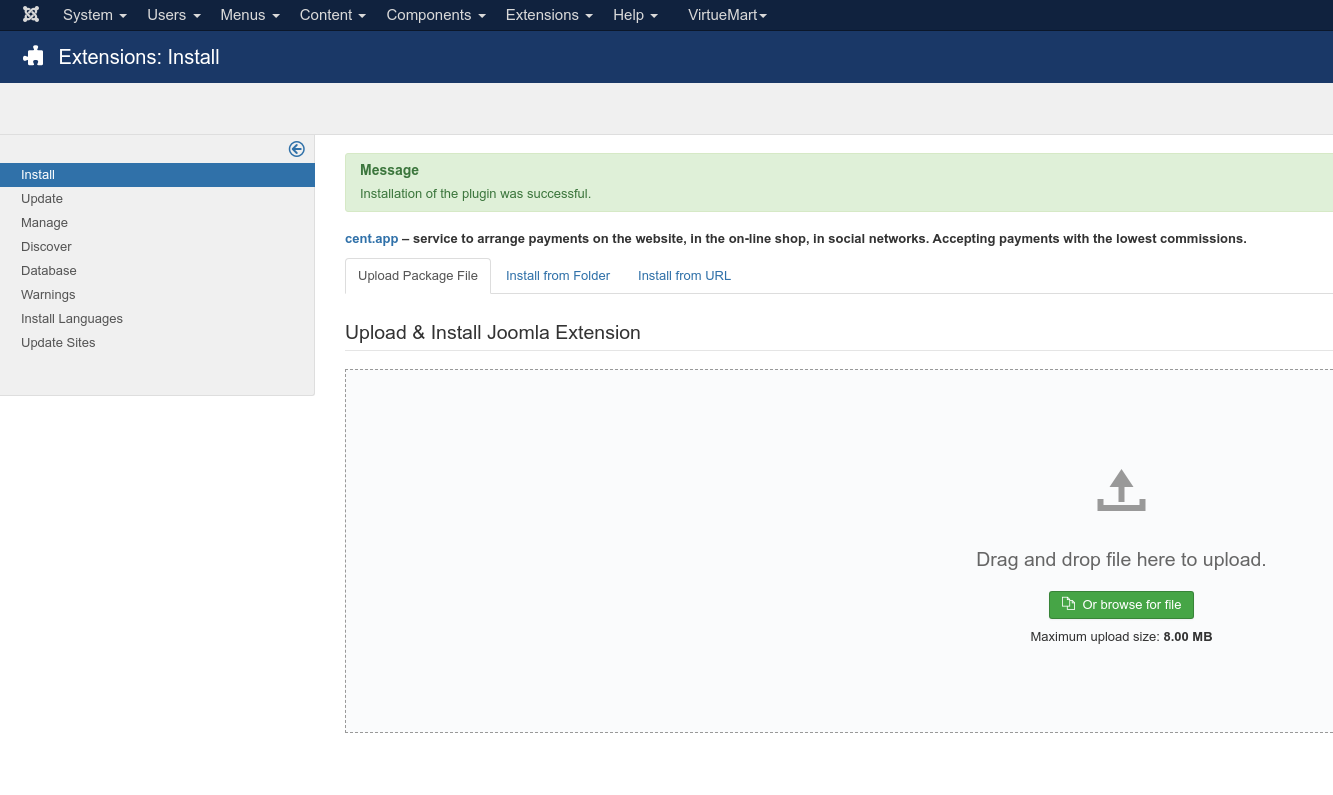
3. Go to Extensions → Manage → Install in control panel of your site.

4. Select downloaded zip archive and install cent.app.

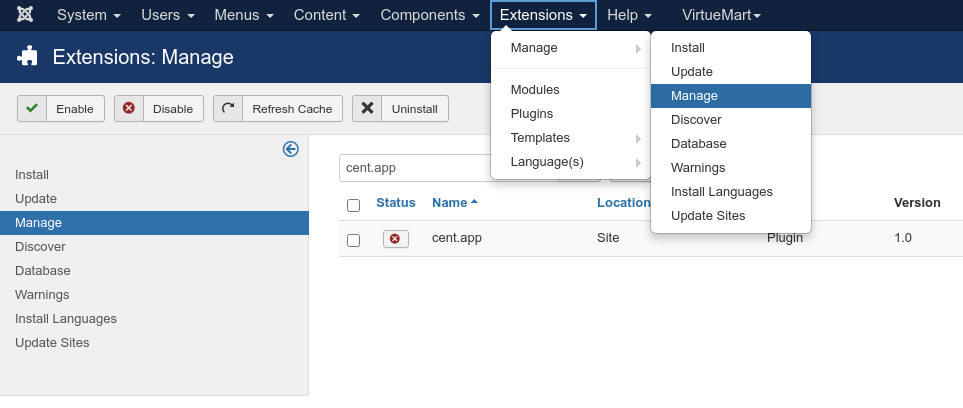
5. You need to go to  Extensions → Manage → Manage, search by 'cent.app' in order to activate it
Activate extension on the page Extensions → Manage → Manage using search by word "cent.app"

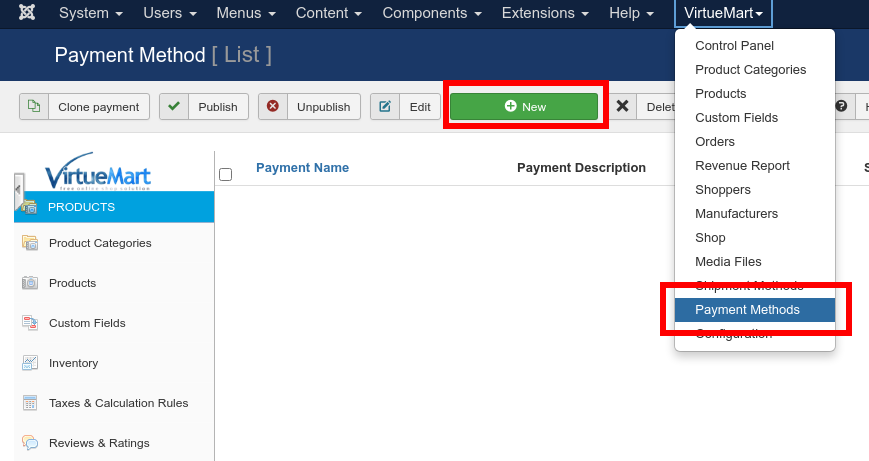
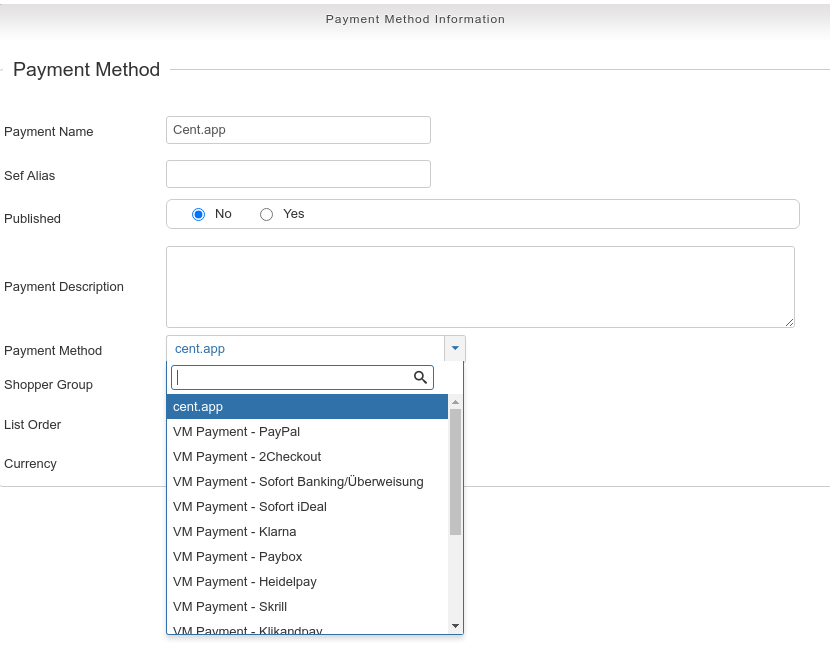
6. You need to open VirtueMart → Payment methods an press "New" button.

7. You need to enter "Cent.app" in the "Payment Name"  field and choose "Payment method" - "cent.app" and "Published" - "Yes". Now you can press "Save".

8. Please enter API Token (you can find it on the page https://cent.app/merchant/profile) and Shop ID (you can find it on the page https://cent.app/merchant/shop)  on "Configuration" page

9. Now you can choose cent.app on checkout.

Tilda

Integration instruction for Tilda

  1. Create a store in your personal account cent.app (https://cent.app/reference/store-setup). Enter https://forms.tildacdn.com/payment/custom/centapp in the Result URL field. Also turn on the "This is a Tilda store" option.
  2. Get a Shop ID and API token for your store. They will be available after the store has been checked by the security system.
  3. In the Tilda profile settings (https://tilda.cc/identity/), check the box "Participate in testing new features" (Available for paid plans).
  4. Next, go to your site settings in Tilda → "Payment systems" and select "Universal payment system". Select "cent.app" from the dropdown.
  5. Fill in the required fields:
  • Login - Shop ID in cent.app;
  • The secret for order signing is API Token in cent.app;
  • You can also specify the parameter for transferring the commission to the payer in the payment system settings in Tilda.